So what are Lightning web components?
Lightning web components are custom elements built using HTML and modern JavaScript. It's a new breed of lightweight framework built on web standards.
What do you need to get started?
If you're very eager or... lazy to set up things right away, then you can check out this.
If you have some time, then you can follow the steps below to set things up.
- First things first, you will need an org. An org is where you do stuff. You can get one for free here.. If you have a trailhead account, you can use your Playground as well.
You have to set up My Domain for your org. Click here to see how to do it. If you're using Trailhead playground, you can skip this because it will have its My Domain configured.
To Enable Dev Hub, you can follow this link.
- Once you have your Org ready, install Salesforce CLI and VS Code.
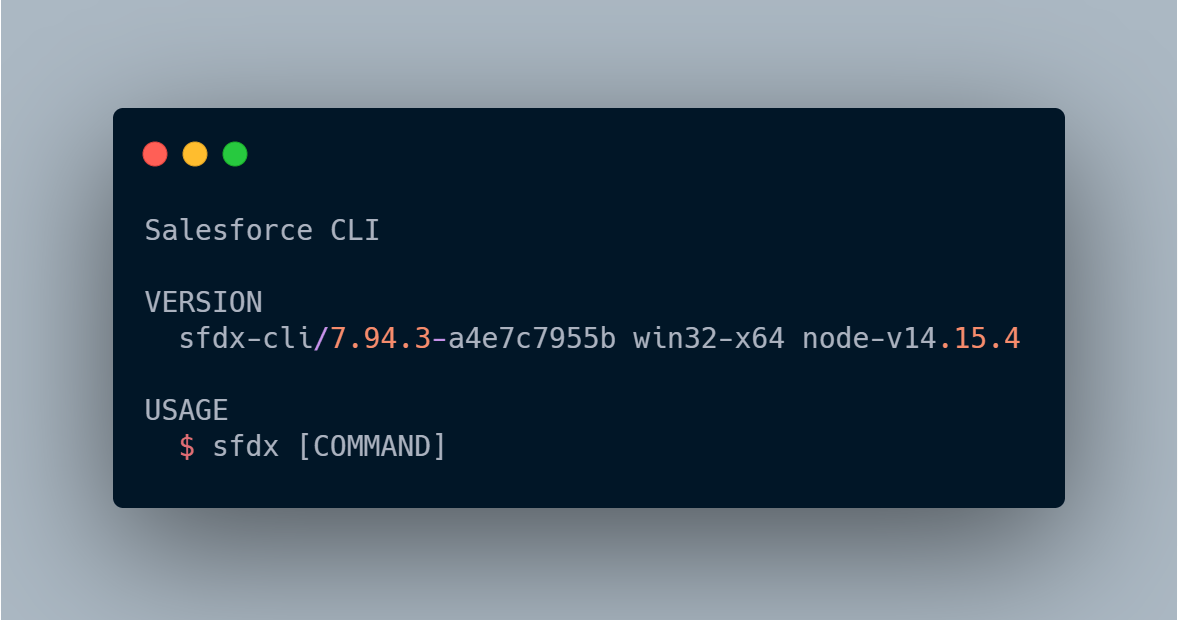
You can check if it's installed correctly or not by typing sfdx in the terminal. If everything is good, you'll see something like this.
- In the VS Code, download Salesforce Extension pack extension.
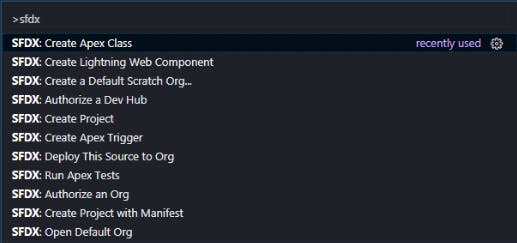
Now, if you open your Command Palette by pressing Ctrl+Shift+P (Windows) or Cmd+Shift+P (macOS) and type in sfdx, you should be able to see these commands.
Congratulations! You're one step closer to build your first lwc.
Let's get down to business now. Let's build our component and you guessed it, it's going to be a Hello World component.
Open the Command Palette and type sfdx, and you'll see SFDX: Create Project. Select it.
 In the next step, select Standard Project template and hit enter.
Now, give a name for your Project. I'll name it hello world, but you do you.
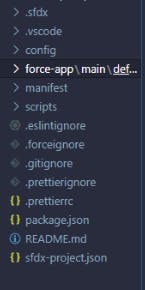
Select or create a folder for your project and when it's done creating, you'll see something like this as your base setup.
Remember creating an Org at the beginning? You will have to authorize that org in order to deploy and see your changes in that org. And that is pretty simple. You will need your org's credentials to do this. (If you don't have it, you can follow this link to reset your password.)
Same stuff. Open your Command Palette, type in sfdx and you'll see SFDX: Authorize an Org.
 Select this. Next, select the Project Default URL option. In the next step, you can hit Enter to select the default alias for your org or you can actually give one. Your choice. Either way, hit Enter when you're done and it'll run the command for you.
This will open the Salesforce login page and this is where you will need your org's credentials. Login and you will be prompted with a screen to allow access. Once you click Allow and go back to your VSCode, you'll see a success message like this.

And this is it. The next step will be creating the component.
And to do that, yes, you guessed it right, we open our best friend Command Palette again. But this time, search for the command SFDX: Create Lightning Web Component.

And be careful here, don't use SFDX: Create Lightning Component, this will create the Aura component instead of the Lightning web component.
You will get a prompt to enter the name of the component, and you will have to enter the name in camelCase. Since we are building a hello world component, we can add helloWorld as the name. Next, the prompt will ask you to choose the directory, you can choose the default directory. You will see something like this.
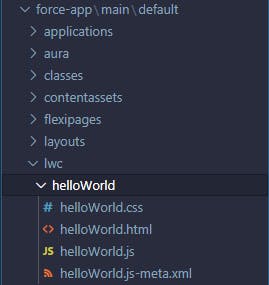
It will create HTML, JS and .js-meta.xml files for you. The CSS file is optional.
- HTML provides the structure for your component.
- JavaScript defines the core business logic and event handling.
- CSS is for styling, and this is optional.
- .js-meta.XML file provides metadata for Salesforce, including the design configuration for components intended for use in Lightning App Builder.
So now we know how to set up, what each file is for. Next, we can deploy our first code to our Org.
Open your HTML file and you'll see a <template> tag. This tag contains the HTML that defines the structure of your component.
<template>
     <p>Hello. This is my first LWC.</p>
</template>
You can don't have to modify your JS file... yet.
Modify your .js-meta.xml file to this, so that you will be able to use the component in Lightning App Builder. (If you're using Webcomponents.dev, you will not see this file)
<?xml version="1.0" encoding="UTF-8"?>
<LightningComponentBundle xmlns="http://soap.sforce.com/2006/04/metadata">
    <apiVersion>51.0</apiVersion>
    <isExposed>true</isExposed>
    <targets>
        <target>lightning__AppPage</target>
        <target>lightning__RecordPage</target>
        <target>lightning__HomePage</target>
        <target>lightning__Tab</target>
    </targets>
</LightningComponentBundle>
Now, you're ready to deploy your first component. To do that, you can either call our best friend Command Palette or just right click on the folder and select SFDX: Deploy Source to Org.

Once it's been deployed, you can open the org directly using the SFDX: Open Default Org command.
 Once you're in the org, go to the app launcher(the square icon right below the salesforce logo), and search for Home and open it.

Click on the setup cog(top right corner) and select Edit Page. This will open Lightning App Builder.
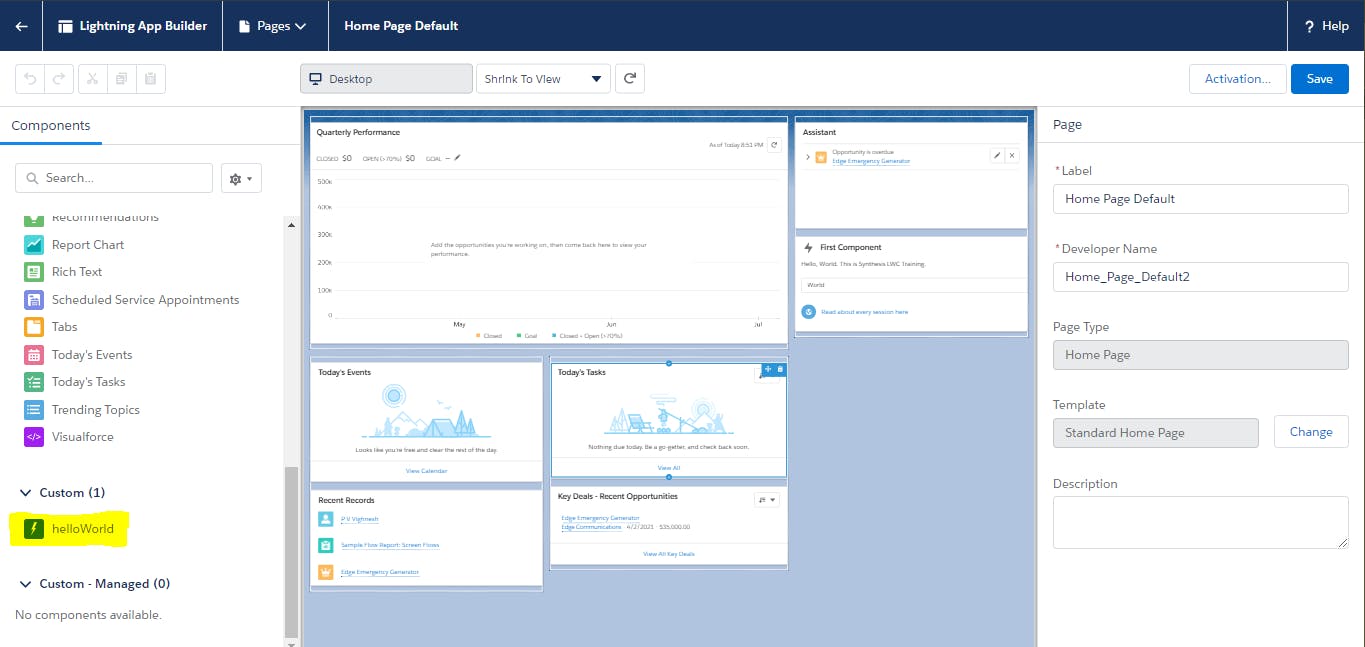 You will find a list of components on the left side of the screen, scroll down to find Custom and you'll see your helloWorld component there, drag it and drop it on the screen.
Save it and go back to the home page.
And here it is, your first lwc.

I mean, sure, it is ugly but not bad for a first component, eh? Yes, go ahead. Pat yourself on the back. You deserve it.
In the next part, we'll make it look a bit better, add some JavaScript too.
If you liked this, keep an eye on this series.
Thanks for reading. :3
